파인튜닝한 bert 모델 서빙서버 EC2에 배포하기

파인튜닝한 bert 모델 서빙서버 EC2에 배포하기

FastApi 프레임워크를 사용하여 웹 애플리케이션을 구축해보겠다.
주요 기능으로는 텍스트 처리 및 AI 모델을 활용한 다양한 응답을 제공하는 API 엔드포인트 정의이다.

FastAPI 코드

1
2
3
4
5
6
7
8
9
10
11
12
13
14
15
16
17
18
19
20
21
22
23
24
25
26
27
28
29
30
31
32
33
34
35
36
37
38
39
40
41
42
43
44
45
46
47
48
49
50
51
52
53
54
55
56
57
58
59
60
61
62
63
64
65
66
67
68
69
70
71
import os
from fastapi import FastAPI
from fastapi.responses import RedirectResponse
from langserve import add_routes
from langchain_community.llms.huggingface_pipeline import HuggingFacePipeline
from transformers import AutoModel, AutoTokenizer, pipeline
from pydantic import BaseModel
from fastapi import FastAPI, HTTPException

app = FastAPI()

# 현재 파일의 위치를 기준으로 상대 경로 설정
current_dir = os.path.dirname(os.path.abspath('./model'))
model_path = os.path.join(current_dir, 'model')

# 모델과 토크나이저 로드
model = AutoModel.from_pretrained(model_path)
tokenizer = AutoTokenizer.from_pretrained(model_path)

pipe = pipeline("text2text-generation", model=model, tokenizer=tokenizer)
huggingface_pipeline = HuggingFacePipeline(pipeline=pipe)

# FastAPI 앱에 라우트 추가
add_routes(
app,
huggingface_pipeline,
path="/model"
)

@app.get("/")
async def redirect_root_to_docs():
return RedirectResponse("/docs")

class TestRequest(BaseModel):
text: str

@app.post("/test")
async def test_endpoint(request: TestRequest):
try:
inputs = tokenizer(request.text, return_tensors="pt")['input_ids']
output = model(inputs)

logits = output["logits"]
logits_2 = output["logits2"]
intent = output["intent"]
ner = output["ner"]

predictions = torch.argmax(
torch.FloatTensor(torch.softmax(logits, dim=1).tolist()),
dim=1,
)

predictions_ner = logits_2.argmax(-1)
test_predict = predictions_ner[0][1:len(predictions_ner)-2]

# 출력 예제
return {
"input": request.text,
"intent": label2intent(predictions.tolist()),
"tokens": tokenizer.tokenize(request.text),
"slot_labels": label2slot(test_predict),
"intent_raw": intent.tolist(),
"ner_raw": ner.tolist()
}
except Exception as e:
raise HTTPException(status_code=500, detail=str(e))

if __name__ == "__main__":
import uvicorn

uvicorn.run(app, host="0.0.0.0", port=5005)

Dockerfile 코드

1
2
3
4
5
6
7
8
9
10
11
12
13
14
15
16
17
18
19
20
21
22
23
FROM python:3.11-slim

RUN pip install poetry==1.6.1

RUN poetry config virtualenvs.create false

WORKDIR /code

COPY ./pyproject.toml ./README.md ./poetry.lock* ./

COPY ./package[s] ./packages

RUN poetry install --no-interaction --no-ansi --no-root

COPY ./app ./app

COPY ./model ./model

RUN poetry install --no-interaction --no-ansi

EXPOSE 5004

CMD exec uvicorn app.server:app --host 0.0.0.0 --port 5004

로컬에서 테스트해보기

1
2
3
4
5
6
7
8
9
 % curl --location 'http://127.0.0.1:5004/predict' \
--header 'Content-Type: application/json' \
--data '{
"input": "This is a test sentence."
}
'
{"input":"This is a test sentence.","output":[[-1.1625256538391113,-0.7818309664726257,-1.2470957040786743,-0.07029110193252563,-1.252798318862915,1.1913777589797974,0.5518047213554382,
...
,-0.08304034173488617,0.22596704959869385]]}

ECR에 도커이미지 push

1
2
3
% aws configure
% aws ecr get-login-password --region <your-region> | docker login --username AWS --password-stdin <your-account-id>.dkr.ecr.<your-region>.amazonaws.com
Login Succeeded

AWS 자격 증명 파일(~/.aws/credentials)에 아래 것들이 있어야함

1
2
3
aws_access_key_id=...
aws_secret_access_key=...
aws_session_token=...

도커 이미지 푸시

1
2
3
4
# Docker 이미지 태그
docker tag my-project:latest <your-dockerhub-username>/my-project:latest

docker push <your-dockerhub-username>/my-project:latest

EC2에서 이미지 pull 하기

1
2
3
4
5
6
7
$ sudo yum install aws-cli -y
$ aws configure
$ export AWS_ACCESS_KEY_ID=[access_key_id]
$ export AWS_SECRET_ACCESS_KEY=[aws_secret_access_key]
$ export AWS_SESSION_TOKEN=[aws_session_token]
$ aws ecr get-login-password --region [region] | docker login --username AWS --password-stdin [id].dkr.ecr.[region].amazonaws.com
$ docker pull [id].dkr.ecr.[region].amazonaws.com/[project_name]:tag

EC2에서 배포하기

1
2
3
4
5
6
% docker run --name [app name] -p 5004:5004 [id].dkr.ecr.[region].amazonaws.com/[app name]:[tag]
INFO: Started server process [1]
INFO: Waiting for application startup.
INFO: Application startup complete.
INFO: Uvicorn running on http://0.0.0.0:5004 (Press CTRL+C to quit)
INFO: 10.71.176.76:31790 - "POST /predict HTTP/1.1" 200 OK

테스트

1
2
3
$ curl --location 'http://[ec2_ip].compute.amazonaws.com:5004/predict' --header 'Content-Type: application/json' --data '{"input":"This is a test sentence."}'
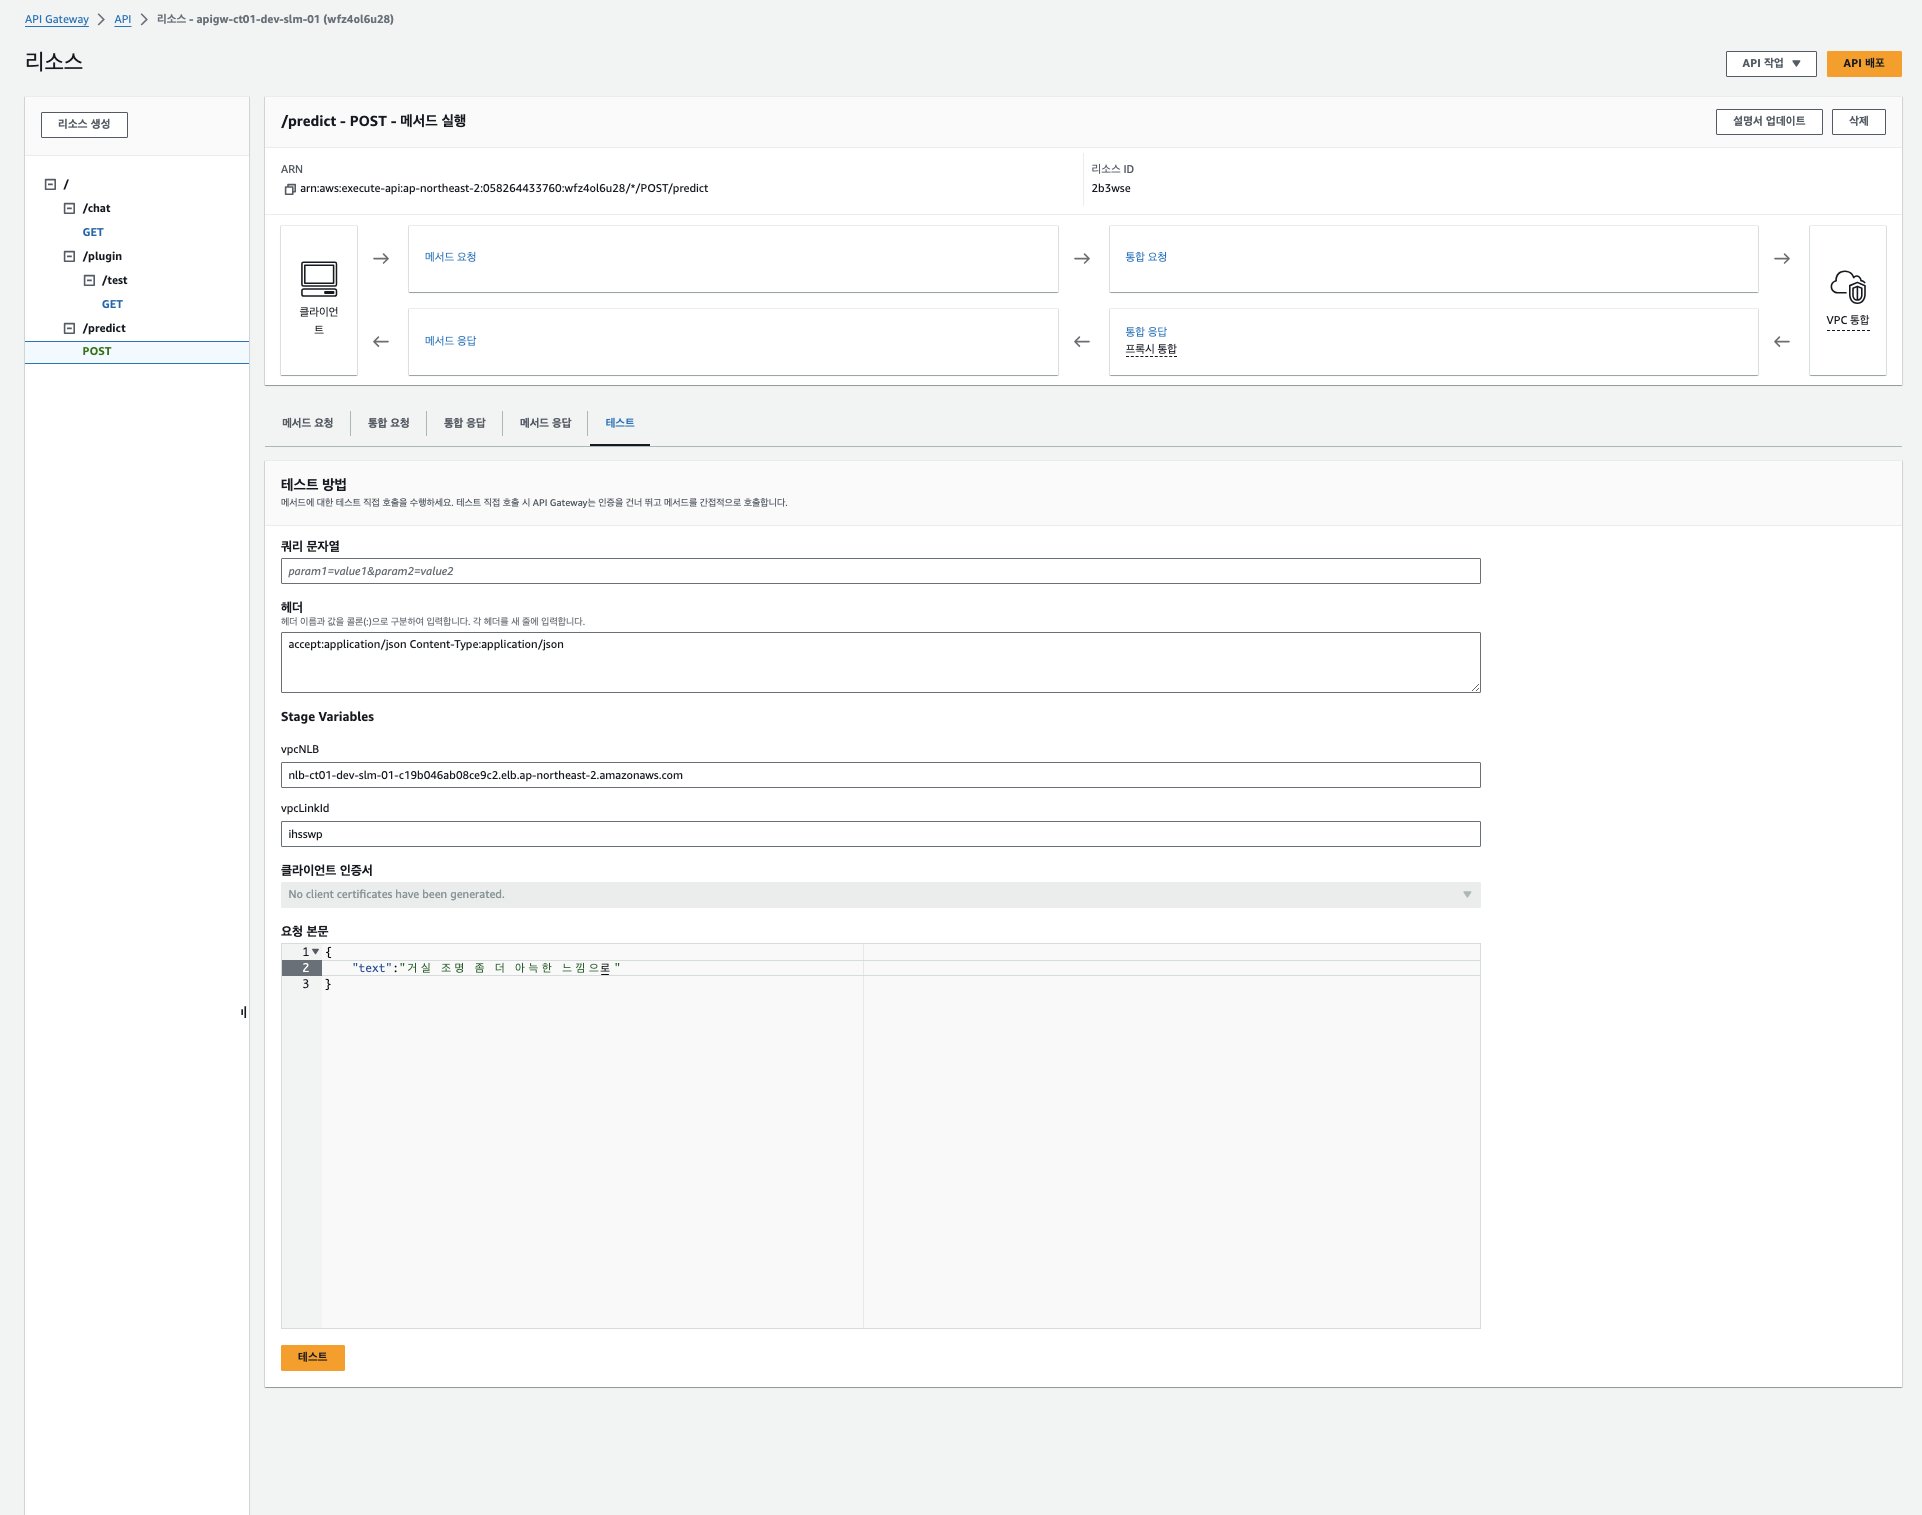
{"input":"This is a test sentence.","output":[[-1.1625256538391113,-0.7818318009376526,...,-0.08304007351398468,0.22596575319766998]]}

API Gateway 연동하기

API Gateway에서 메서드를 만들고 HTTP Request Header를 넣어준다
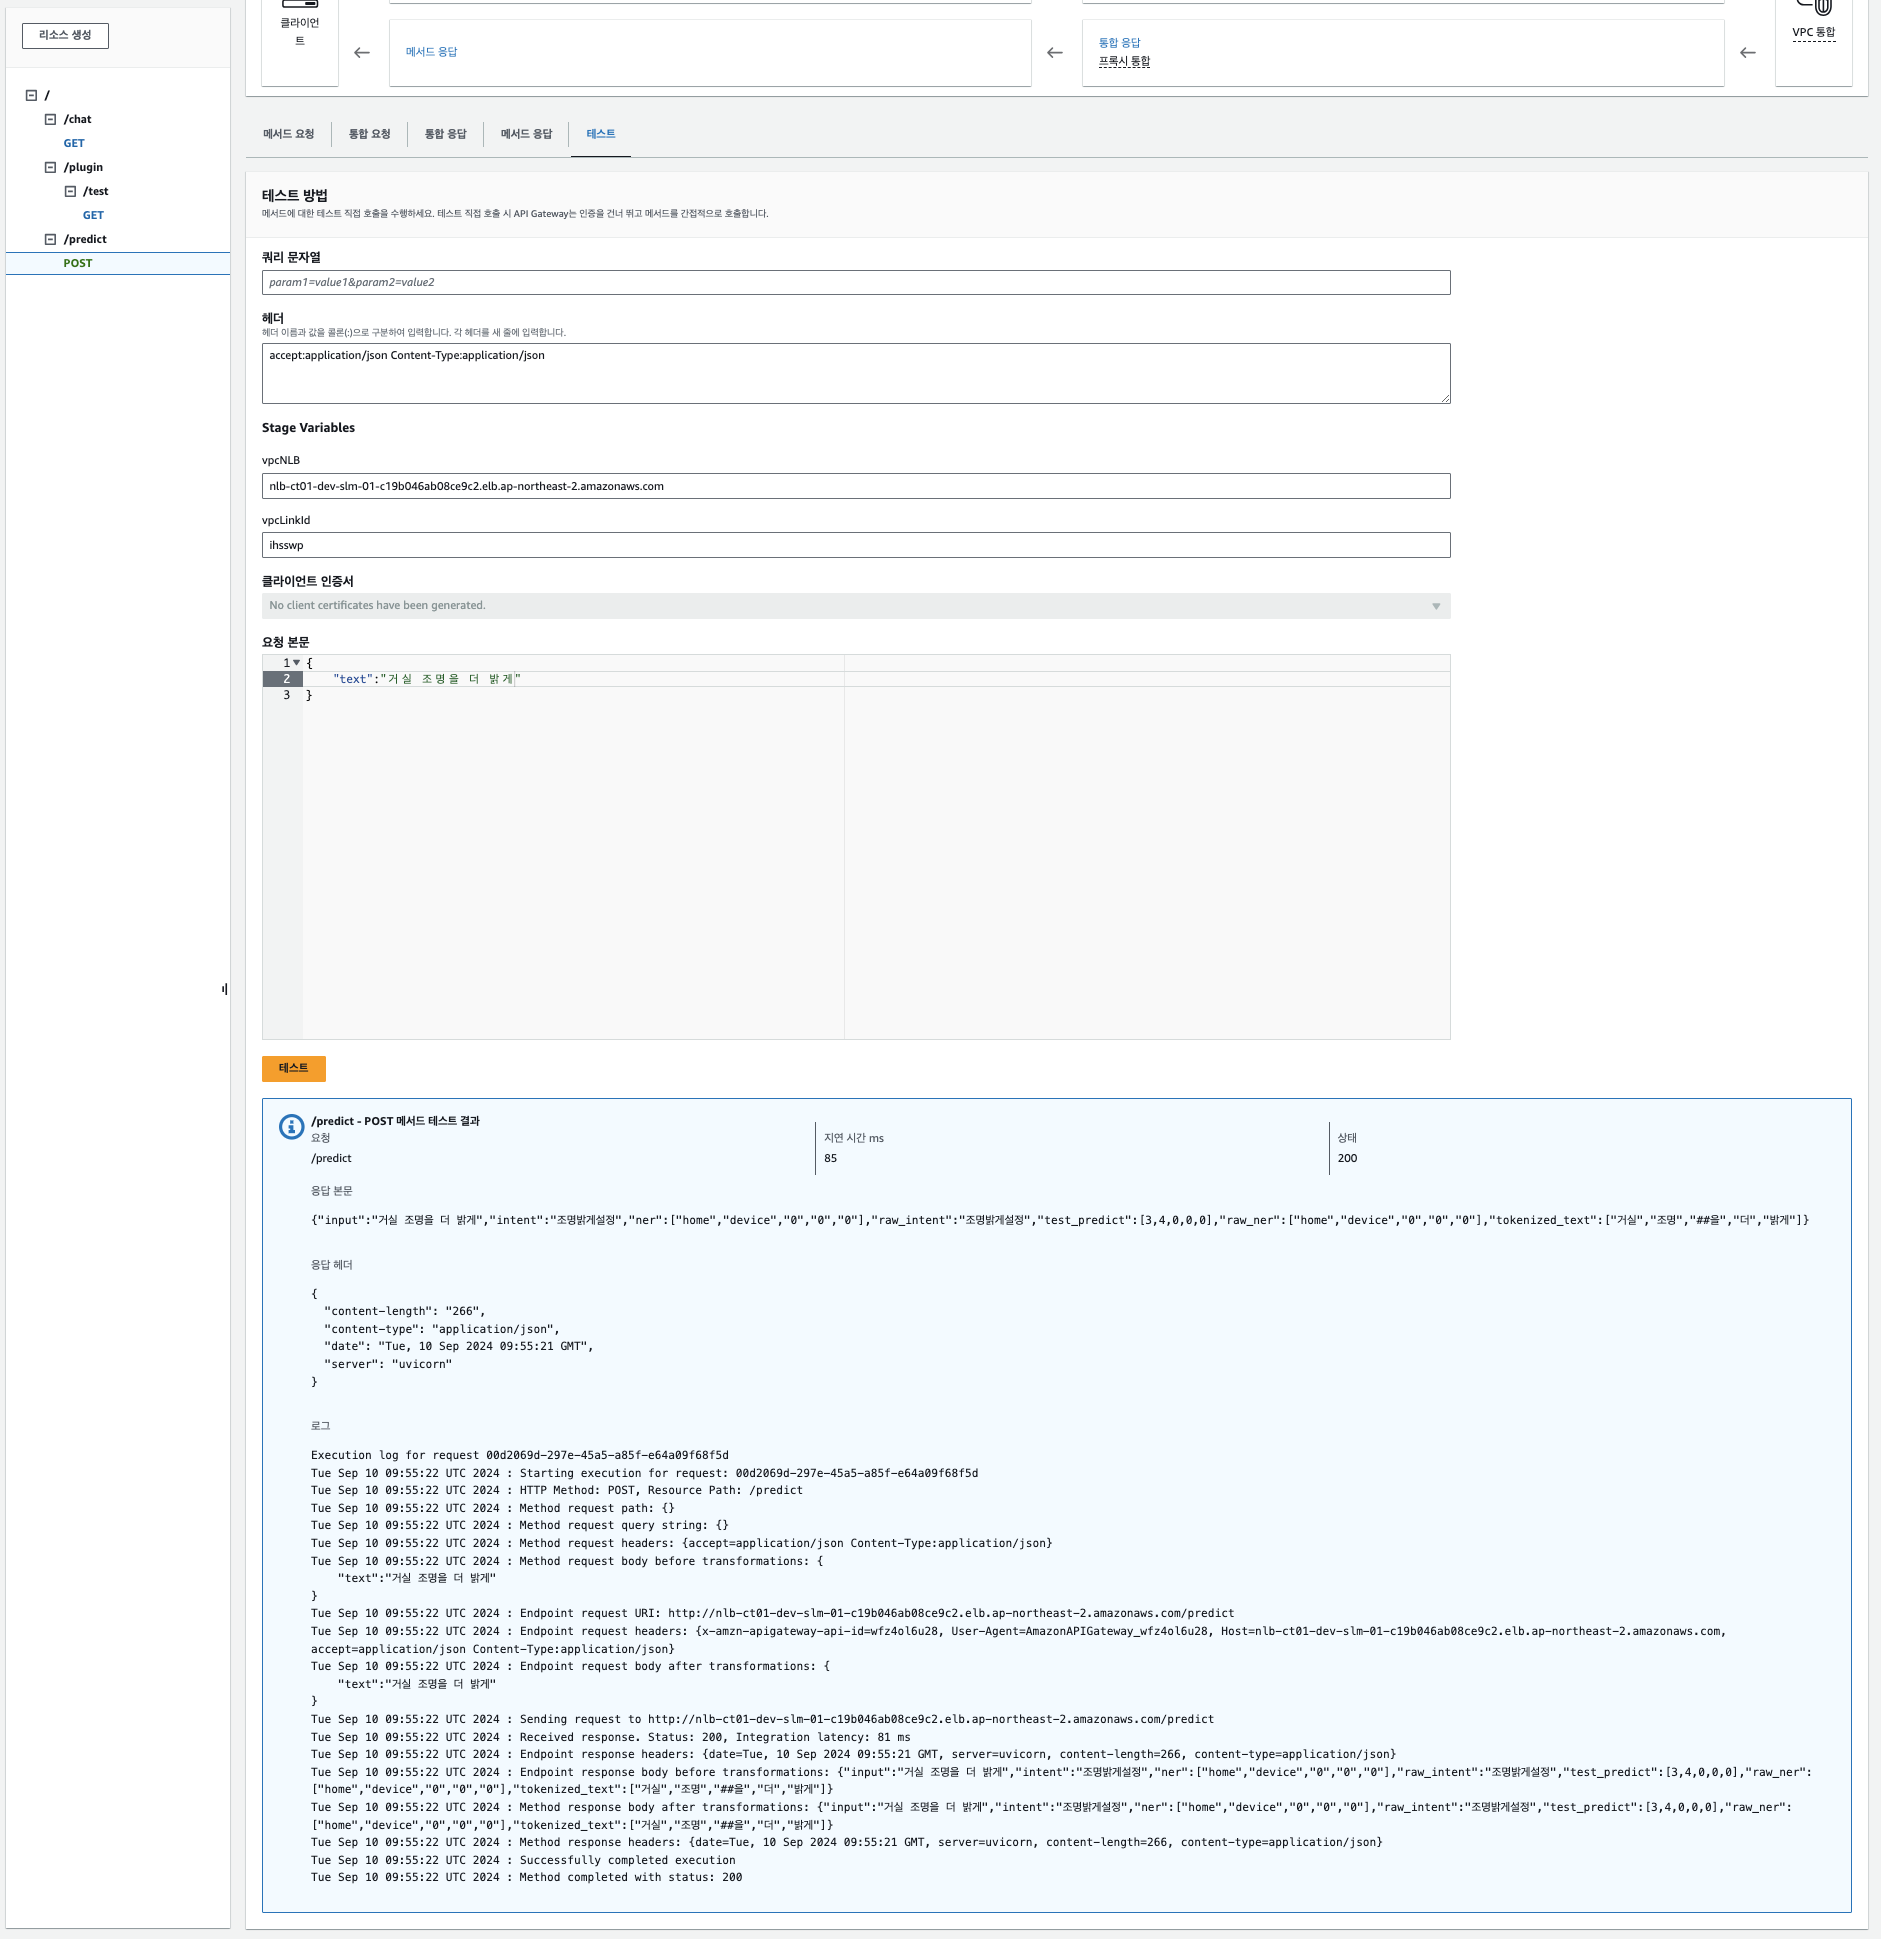
배포전에 테스트를 해준다

테스트 결과는 아래와 같이 나온다.

배포한 API 로컬 PC에서 호출해보기

1
2
3
4
5
6
7
% curl --location 'https://wfz4ol6u28.execute-api.ap-northeast-2.amazonaws.com/dev/predict' \
--header 'accept: application/json' \
--header 'Content-Type: application/json' \
--data '{
"text": "거실 조명을 좀 더 아늑한 느낌으로"
}'
{"input":"거실 조명을 좀 더 아늑한 느낌으로","intent":"조명따뜻하게설정","ner":["home","device","0","0","0","0","0"],"raw_intent":"조명따뜻하게설정","test_predict":[3,4,0,0,0,0,0],"raw_ner":["home","device","0","0","0","0","0"],"tokenized_text":["거실","조명","##을","좀","더","아늑한","느낌으로"]
Author

hamin

Posted on

2024-08-12

Updated on

2024-09-10

Licensed under

You need to set install_url to use ShareThis. Please set it in _config.yml.
You forgot to set the business or currency_code for Paypal. Please set it in _config.yml.

Comments

You forgot to set the shortname for Disqus. Please set it in _config.yml.
You need to set client_id and slot_id to show this AD unit. Please set it in _config.yml.